Introduction to DIY Floating Desks
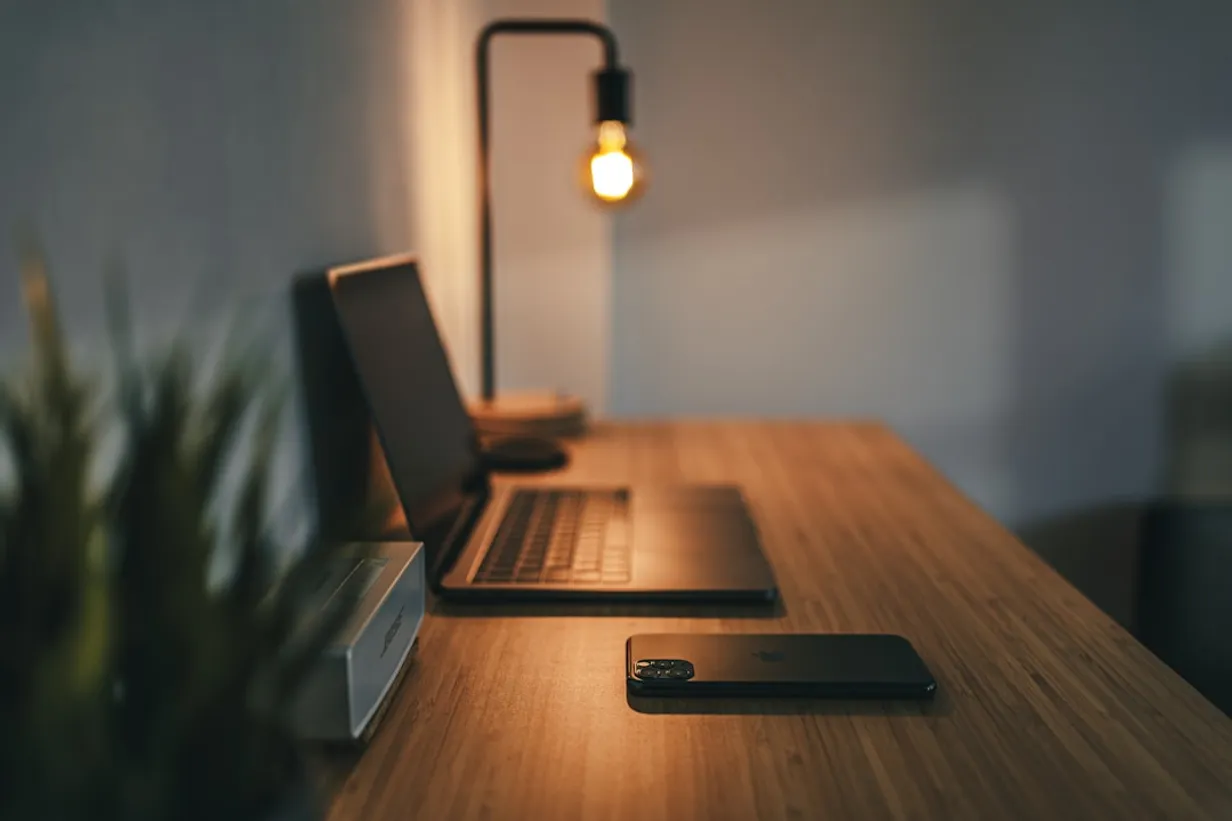
In the world of minimalist decor, efficiency and elegance go hand-in-hand. Floating desks are the perfect embodiment of this balance, offering both functionality and a clean aesthetic. A floating desk is an excellent choice for those looking to save space and add a modern touch to their home office. In this guide, we'll explore the steps to creating your own minimalist DIY floating desk that blends seamlessly into your interior.
Benefits of a Floating Desk
Floating desks offer numerous advantages, especially in a minimalist setting. Without the bulk of traditional desk legs, floating desks open up floor space and create an airy feel. This design is not only visually appealing but also promotes a tidy work environment.
Space Saving Enhancement
By eliminating the need for table legs, floating desks optimize your room layout, making them ideal for smaller spaces.
Flexible Customization
Floating desks can be tailor-made to fit your personal style and specific needs. They offer flexibility in height and length, which makes them adaptable to any space.
Materials and Tools Needed
Here’s what you’ll need to get started:
- Wooden board: Choose a durable and sustainable option such as reclaimed wood or bamboo for a sturdy desk surface.
- Heavy-duty wall brackets: Ensure they can support the weight of your desk and items on it.
- Power drill and screws: Essential for securely mounting your desk to the wall.
- Level: To guarantee a perfectly straight surface.
- Sandpaper: For smoothing wood edges.
- Wood finish or paint: To protect the wood and match your desired decor theme.
Step-by-Step Guide to Creating Your Desk
1. Measure and Plan
Determine the desired size and location for your desk. Consider what activities you’ll need it for, aligning it with your minimalist style and workspace ergonomics.
2. Prepare Your Wooden Board
Cut the board to your specifications. Sand down the edges to ensure a smooth finish that is ready for staining or painting.
3. Install the Wall Brackets
Use a level to mark where the brackets will be attached. Drill pilot holes into the wall, then secure the brackets with screws.
4. Attach the Desk Surface
Position the wooden board onto the brackets. Secure it from below using screws through the pre-drilled bracket holes.
5. Finish and Decorate
Apply a wood finish or paint to seal and protect your desk. Once dry, add minimal accessories to keep the space clutter-free.
Conclusion: A Sleek Workspace Solution
Creating your own minimalist DIY floating desk not only helps in maintaining a sleek and stylish home office but also embodies a connection to your space and creativity. With the essentials above, you’re on your way to cultivating an efficient workspace that reflects your minimalist values.
Like our design see our other topics
We have helped find related design topics for you to help your searches at Plain Jane designers

Crafting Simple DIY Minimalist Photo Frames


